Still Not Sure About Windows 8? A 10-Step Guide to Getting Started How you can get up to speed with the desktop version of Microsoft's new operating system.
By Barb Dybwad
Opinions expressed by Entrepreneur contributors are their own.
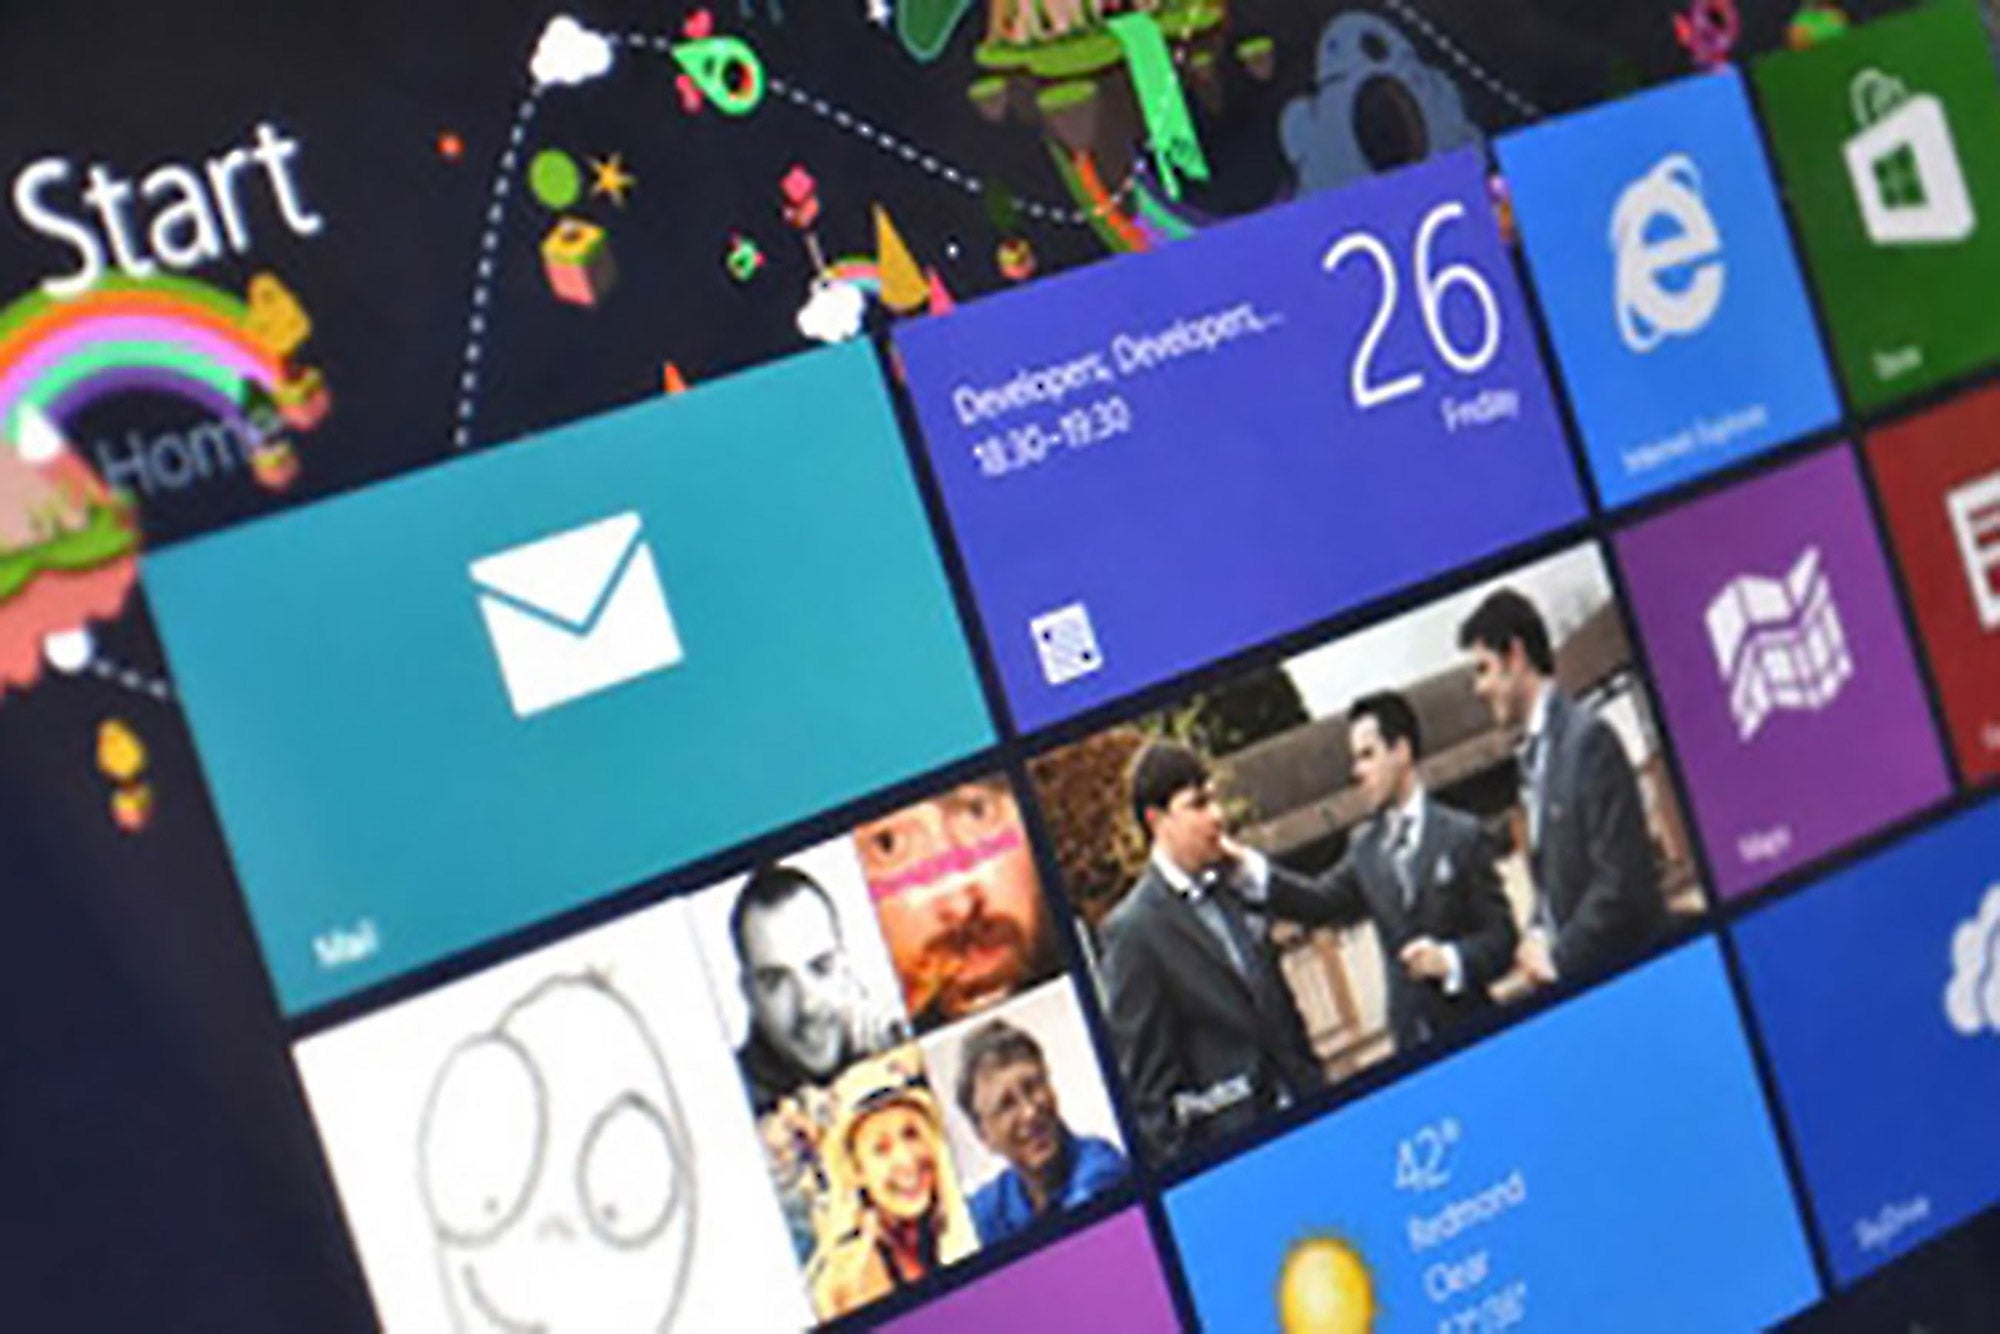
Microsoft's new operating system is a radical departure from Windows 7, and that's not necessarily a bad thing. But the new Windows 8 will most likely take some getting used to.
Designed to work equally well on computers and tablets -- and borrowing liberally from its mobile Windows Phone cousin -- Windows 8 is bold and uncluttered. But gone are the familiar landmarks like the Start Menu and folder icons.
Here's a step-by-step guide to get up to speed with the desktop version of Windows 8.
Get familiar with the tile interface.
One goal of the new Windows is to present a cohesive experience across the primary platforms you care about: computer, tablet and smartphone, as well as Microsoft's Xbox 360 game console. If you own more than one device running Windows or Windows Phone 8, you'll appreciate the similar look and feel of the new tile-based interface.
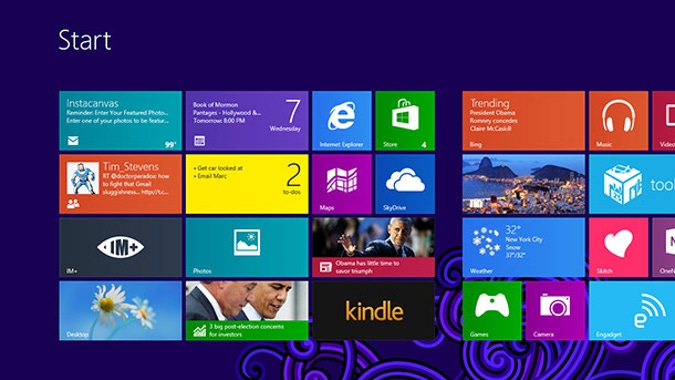
These brightly colored blocks represent everything on your system: apps, files, photos and more. Simply click on a tile to launch or access that item. By default, apps launch in full screen mode, offering an uncluttered workspace.
Set up your Start Screen.
Once you start getting the hang of the new interface, turn your attention to the Start Screen, your main point of entry. It provides quick access to the apps and information you access most. You can always return to this screen by pressing the Windows key.
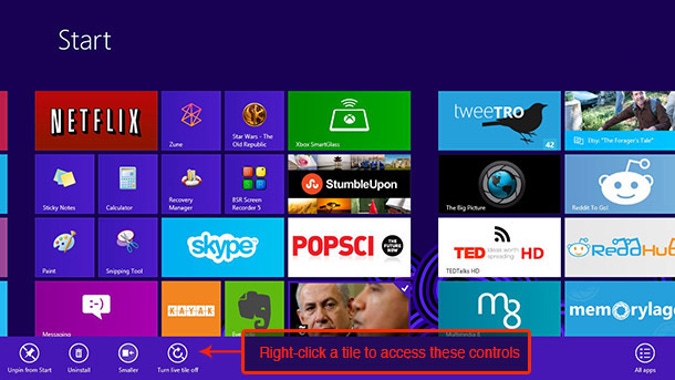
To customize your Start Screen, click and hold a tile and drag it to a new location. For more controls, right-click a tile to bring up a menu bar from the bottom allowing you to remove the item from the Start Screen, make the tile smaller or uninstall it.
Access your old desktop.
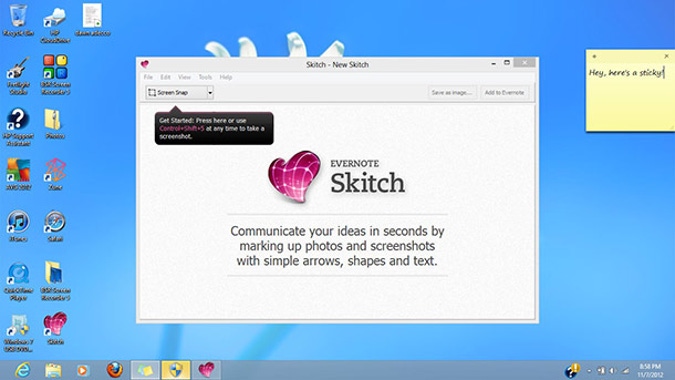
You don't have to miss the old Windows Desktop with Windows 8. Launch it from its tile on the Start Screen, or use the keyboard shortcut Windows-D.
The Windows Desktop will look almost exactly the same as it did under Windows 7, and if you've upgraded to Windows 8, it will contain all your old shortcuts. The one omission is the Start Menu. You'll still have to use the Start Screen to launch apps. The good news is, most, if not all, of your existing desktop software should work fine.
If you really miss the Start Menu, you can get it back by using a third-party application such as Classic Shell or ViStart.
Navigate quickly via the Charm Bar.
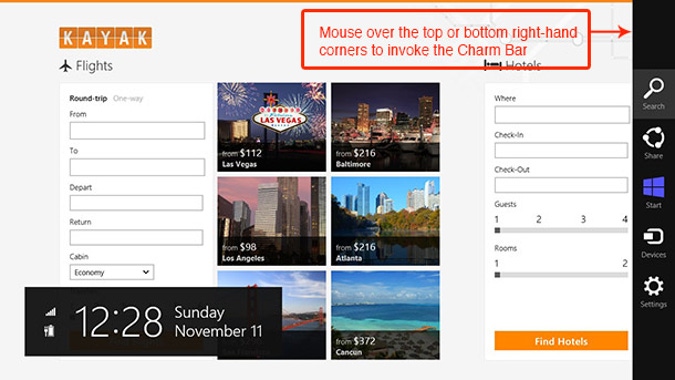
Next, you'll want to get to know what's called the Charm Bar, a universal toolbar. It's available from anywhere, including Desktop Mode, by moving your mouse into the top or bottom right-hand corners of the screen. You can also toggle it on or off with the Windows-C keyboard shortcut.
When invoked, five Charms will emerge from the right-hand side of the screen: Search, Share, Start, Devices and Settings. Search has gotten a facelift in Windows 8, and we'll talk about it further in the next step. Share is a handy way to send information via email, through social networks or from one app to another.
Start takes you to the Start Screen, Devices lets you control peripheral settings such as external monitors or projectors, and Settings is a gateway to an individual app's settings, as well as the settings of your entire machine.
Search for apps, settings and files.
Now that you've seen the Charm Bar, you can either access the Search Charm or simply start searching on your computer by hitting the Windows key to go to your Start Screen and begin typing. You can toggle between looking for apps, files, or settings right below the search box.
Switch between running apps.
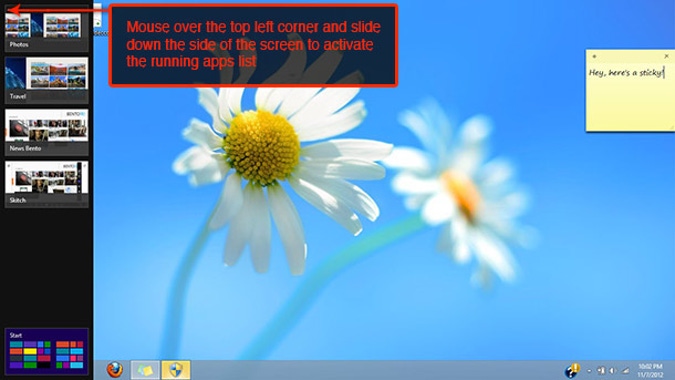
While the right side of your screen is the home of the Charm Bar, the left side is the home of currently running apps. If you mouse over the top left corner of the screen, a small thumbnail of your most recently used app will appear. If you slide the mouse further down the side of the screen, a list of currently running apps will emerge from the left.
Simply click on any app to switch to it immediately. You can also call up the running apps list and step through each open program by using the Windows-TAB keyboard shortcut. Right-clicking a thumbnail in the list lets you close the application, or pin it to the left or right of the screen.
Work in two apps at a time with 'Snap.'
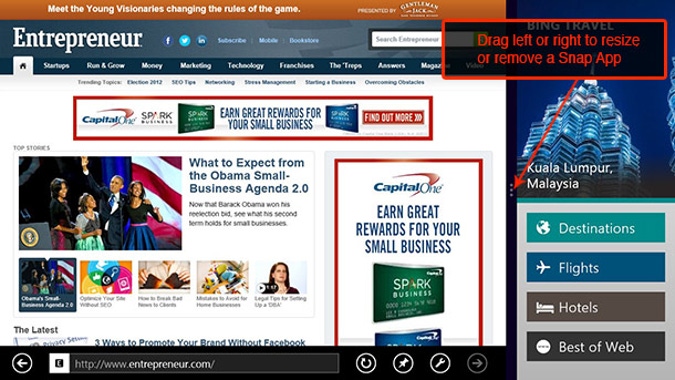
At this point, get to know the new split screen feature called Snap. With Snap, you can pin one application to the right or left side of the screen while working side-by-side in another. In the screenshot here, Bing Travel has a dedicated spot on the right, next to Internet Explorer on the left.
You can send an app to either side of the screen by right-clicking its icon in the running apps list. Or you can drag the app's thumbnail to the side where you wish to pin it, wait for a border to appear around the current app in that position, then drop it.
Use Settings to customize your experience.
When getting started with any new computing system, you want to take control of your experience. From the Charm Bar, click Settings to access frequently used controls like choosing a wireless network and setting volume and brightness levels.
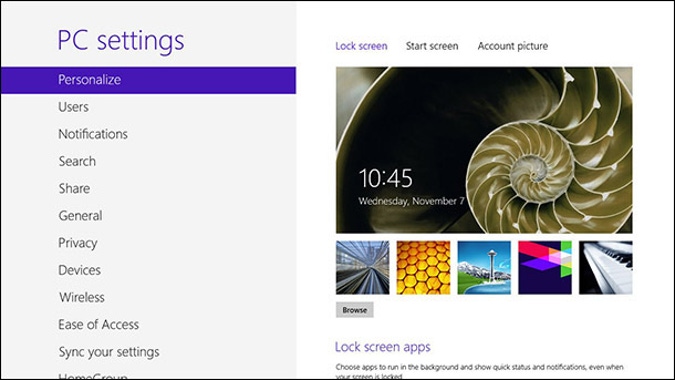
For the rest of the settings you remember from the Windows Control Panel, click Change PC Settings at the bottom of the Charm Bar Settings menu. Here you'll find a brighter, friendlier version of the old panel, where you can customize your experience from privacy settings to managing multiple user accounts.
Start using single sign-on.
If you already have a Microsoft account -- previously known as a Windows Live ID -- you may already have information in the cloud: files stored in SkyDrive, emails in Hotmail or Outlook.com, or existing identities in Messenger.
You can easily access that data, as well as sync such things as your personal settings, browser favorites and downloaded apps across all your Windows devices, by associating your Microsoft account with your local machine. If you add a tablet or Windows phone to your arsenal, or get a new PC later on, single sign-on makes it easier both to pull down your existing data and access multiple services.
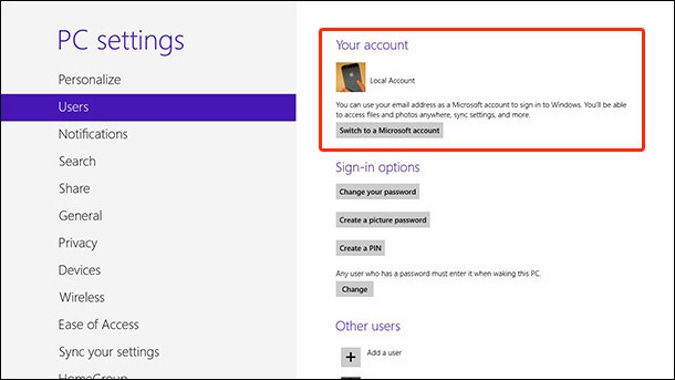
To associate a Microsoft account with your local user account, head to PC Settings > Users and follow the prompts to connect the two and decide which data and settings you'd like to sync.
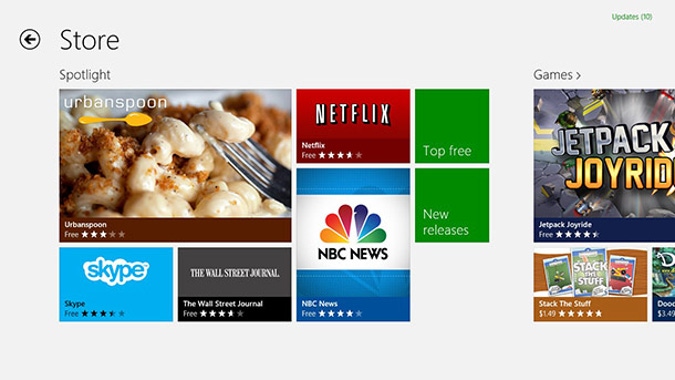
Get new apps from the Windows Store.
Your next move is to start downloading additional apps. Like Apple and Google, Microsoft now has a central marketplace for applications.
New apps are automatically pinned to your Start Screen, where you can re-order and customize them to suit your workflow. The Windows Store offers both free apps and paid apps, which can be purchased using the payment credentials associated with your Microsoft account.
